What equipment should you look at acquiring when getting started in beekeeping?
Assuming that you have decided on a hive type my advice would be stick to a single type as it makes life much easier when you need to manipulate colonies and if you have to transfer combs between colonies. Notice how I assumed that you would have more than 1 colony. Well you can run with just one colony but I would plan on having at least 2. The bees will eventually want to swarm or you will need to carry out some form of preventative swarm control. This the new colony will need to be housed and managed. Also having more than one colony does give you some form of back-up if something goes wrong with one colony.
So what equipment do you need:
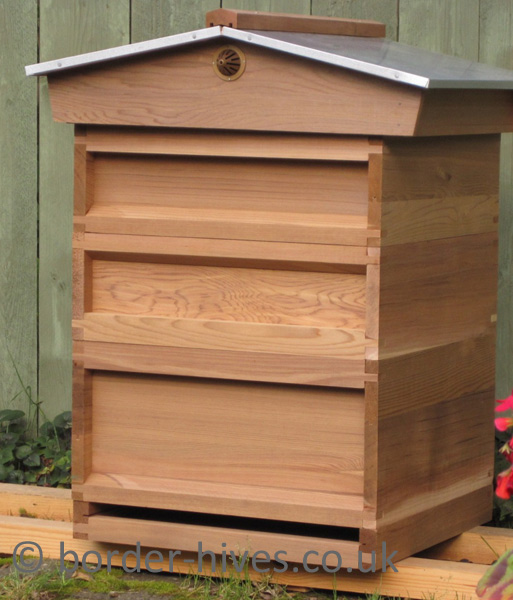
- Hive – for a more detailed look at what choices see: Choosing hive types
- Jacket – I have a combined jacket and veil; however, most members of my association have gone for a full length bee suit. Choose one that has tight cuffs around the wrists as bees are very good at finding your exposed skin!. If you think you might be allergic or suffer adverse reactions to bee stings then consider one of the “thick” suits that are now readily available from suppliers such as BBWear
- Gloves – avoid leather gauntlets and go for either washing up gloves or ideally disposable rubber gloves. Leather gloves will soon get coated with wax and propolis and become unusable and they are not washable.
- Hive tool – my preference is the J tool design with a hook for levering frame ends. The other type, known as a scraper, is also popular and it’s down to what you feel comfortable with.
- Smoker – go for a large size. I found it hard to keep the small smoker I started out with alight even when inspecting just 2 colonies. For smoker fuel again it’s personal choice – dried grass, bark chipping, rolled up cardboard. I prefer dried grass as it gives out a cool smoke. Avoid wood, including sawdust, as it the smoke tends to be at a high temperature.
- Hive stand – can be an old crate or a purpose made one. It’s much easier to inspect a colony at the right height than to continually have to bend down to take the frames out. For a stand that I use see the plans I have drawn up in Techniques and Plans – Single Hive Stand
- Nucleus hive- you will need one at some stage and if your bees came in a travelling box then this will do for a season or two. If you have to buy one and cost is an issue then the poly versions that are now available are very good. If you are lucky enough to get a prolific colony – you may need to perform a split even in your first season and need one straightaway.
Miscellaneous:
- Bucket for sterilising your hive tool between inspections is important so you’ll want to get one that you can fill with washing soda solution. The right solution strength is 500g (half a bag) to 4.5l water.
- Bucket for hive dross – basically scrapings of comb, propolis that you need to remove from frames as you inspect.
- Bee brush – worth getting a brush specifically designed for beekeeping. It’s thinner with and doesn’t trap the bees as it has fewer bristles.
- Magnifier or torch to be able to peer into the bottom of the comb to see eggs, young larvae. You can get by with using the torch app that are now on most smart phones.
- Uncapping tool – if you practice drone uncapping as part of your varroa IPM protocol then an uncapping tool is a must.

